View All


 View All


 View All


 View All


Cock-a-doodle-doo!
As we prepare to welcome the year of the Rooster, a part of the Chinese New Year traditions is getting your house ready for the new year. After taking down the Christmas decorations just a few short weeks ago has had all of us missing a bit of festivity in the house. That’s why we are excited to have CNY roll around!
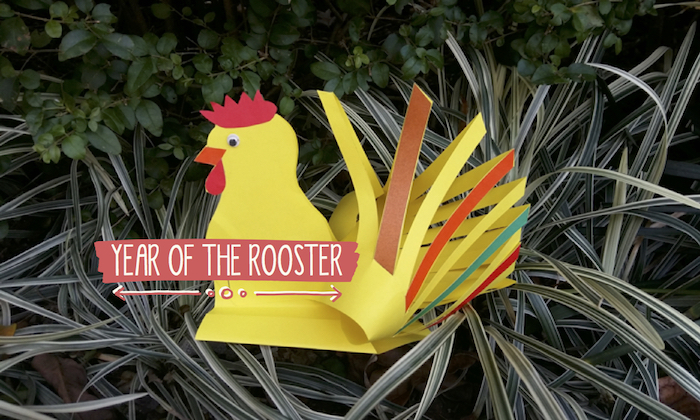
As arts and crafts is a great way for the family to come together and make something special on the weekends, why not make it purposeful for CNY decor too? Check out our latest DIY with our resident crafter, Julie from ActivityBox as she shows us how to make the cutest 3D rooster we ever did see. Click through our slideshow to follow along the simple steps!
![]()
Happy Year of the Rooster, mamas!
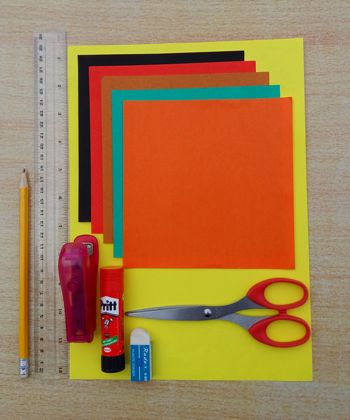
You will need:
- A4 size paper to use as the base colour for your rooster
- A small piece of red and orange paper. Other colours are optional.
- Ruler
- Pencil
- Scissors
- Glue stick
- Stapler
- Googly eyes
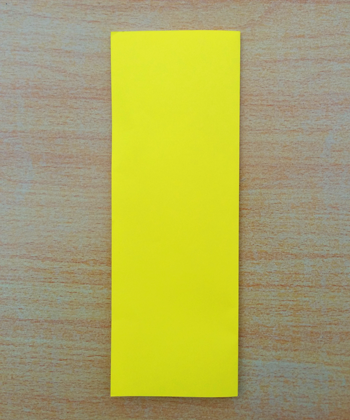
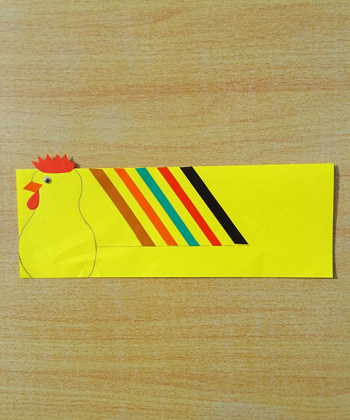
Position your paper in the landscape direction. Fold the top part over the bottom so you create a long rectangle. Keep the folded part facing upwards.
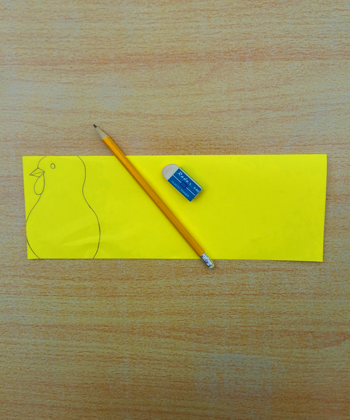
On the left-hand side, draw a rooster head and body outline in pencil. (If you need a little help, print out a rooster outline on transfer paper to help trace the details.) Make sure the profile of the rooster includes the beak, eye and wattle (the red part under the beak).
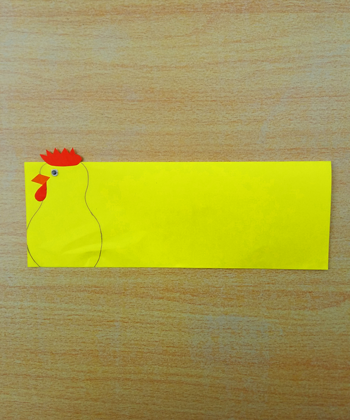
Fold the orange and red paper in half so when you draw your shapes you get two pieces. On the orange paper draw a diamond-shaped beak. I made it about the same size that I drew on my rooster outline. On the red paper draw a cockscomb shape to fit on top of the head and the wattle shape (draw a teardrop shape for the wattle to fit under the beak). Cut them out.
Stick on the cockscomb so it overlaps the top of the head. If decorating both sides of the rooster, stick the other one on the back of it. Repeat with the beak, wattle and eye.
Draw a horizontal line about 3cm from the bottom of the page, starting from the rooster’s body. Now draw lines diagonally, from left to right, from the top of the page. Make them about 1cm wide.
These will be the tail feathers so decorate as you wish. Feel free to get creative here with colour combinations and perhaps paper textures if you prefer. Stick on paper strips to the rooster’s body.
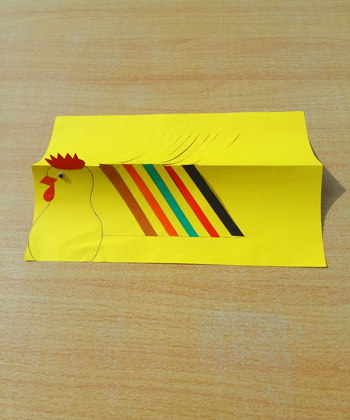
Cut along the lines from the top fold to the bottom pencil line.
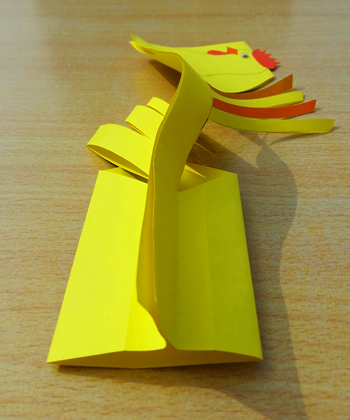
Fold the paper into a T-shape. Line up the folded part with the bottom pencil line. Once you have your T-shape, the bottom edges should line up perfectly.
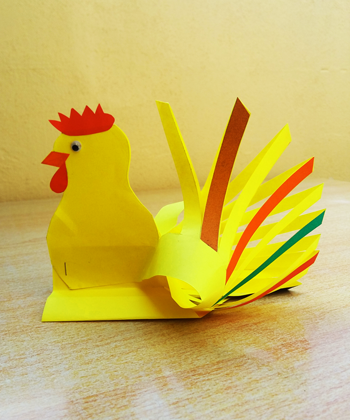
Bend the rooster’s body over so the bottom of the rooster joins the T-bar and place one part on each side of the bar. Staple or glue the bottom of the body to the T-bar. Carefully cut out part of the body shape. Glue the head, beak and any loose parts together.
And there you have it, your very own 3D rooster just in time for Chinese New Year, mamas!