With Mother’s Day on the horizon, here’s a fun and easy craft idea for you to try with your littlies from Simone at Craft Box… what better way to ensure you will definitely get a present on the day itself!
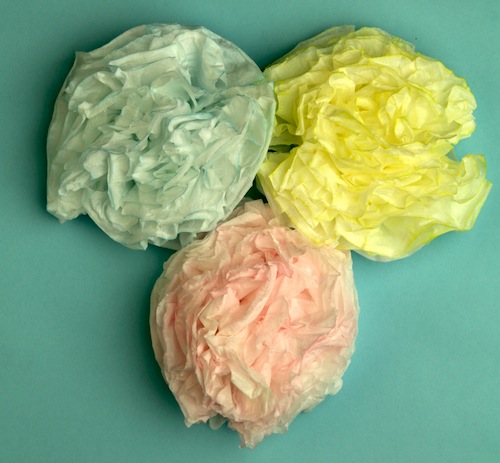
These gorgeous tissue flowers are so easy to make and unlike the real thing, will last forever too! Follow the instructions closely the first time you make one and in no time at all you will be making lots of them.
You could make a few and then fasten them onto a pipe cleaner or flower wire and tie them up with a pretty ribbon. Any mama will be thrilled to get even one of these flowers!
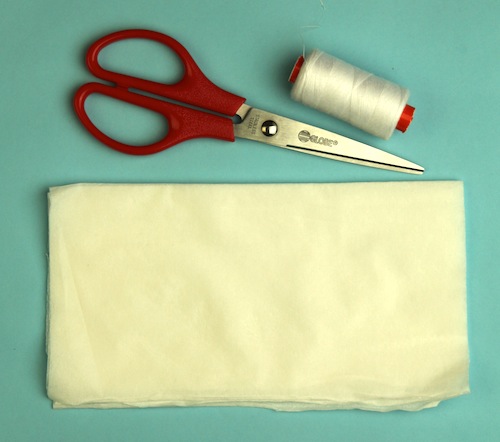
Supplies
- Facial Tissues
- Thread
- Scissors
Instructions
1. Lay out 4 tissues on top of each other
2. Cut the tissues in half long ways
3. Lay the 8 pieces of cut tissues on top of each other
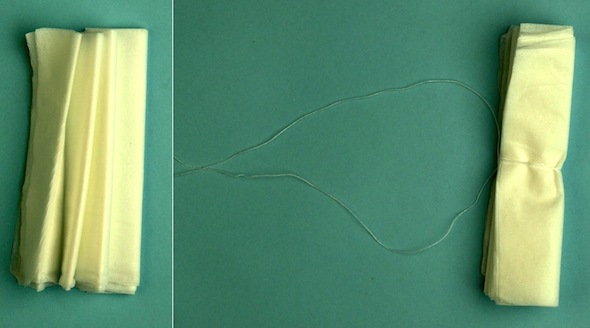
4. Start to fold up the tissues like an accordion or fan approximately 2 fingers wide for each fold
5. If there is extra tissue trim it off; there should be around 7 folds
6. Now wrap the thread around the middle of the folded tissues trying to get it in the middle
7. Fan out the folded tissues and you are ready to start making the flower
8. Each tissue is usually made of 2 layers so find the top layer and GENTLY pull it up towards the middle, try not to rip it but don’t worry if you do.
9. Keep pulling each layer until all pulled up
10. You can trim the flower at the end
If you want to colour your flowers, you can put some food colouring in a spray bottle and spray a small amount of coloured water onto the flower and leave it to dry for up to 1 hour
 View All


 View All


 View All


 View All


