View All


 View All


 View All


 View All


 Post Category - ChristmasChristmas
Keep them entertained while also prepping for the holiday season.
The countdown to Christmas has officially begun. Get your family in the holiday spirit with these festive craft ideas (perfect for gifting to loved ones as well!). From homemade advent calendars and recycled gift cards to Christmas Eve boxes and Mason jar mixes, these crafts are easy and fun to do.
Read more: Free Downloadables: Dear Santa Letter & Official Nice List Certificate
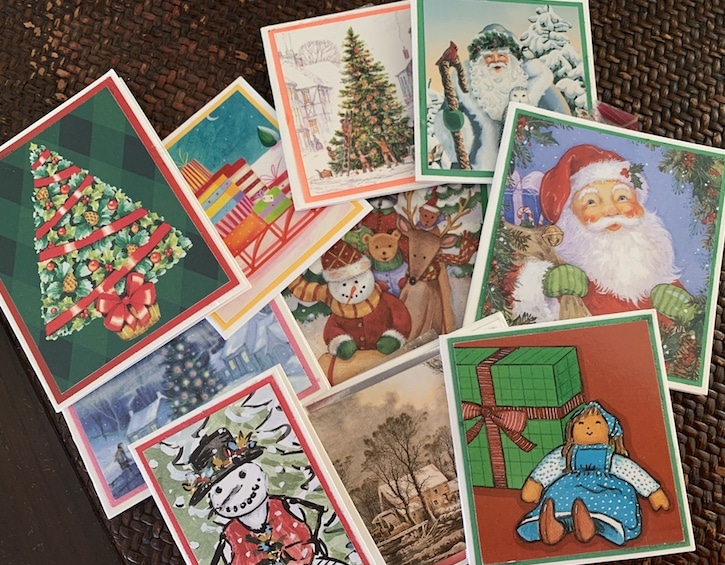
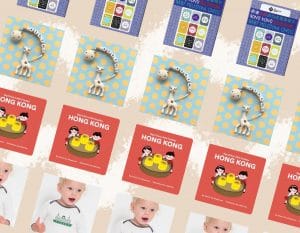
Nostalgic Christmas Cards
My husband’s grandmother used to make these gift tags by repurposing Christmas cards she had received from previous years. I have many fond memories of cutting and crafting with her in the lead up to Christmas and they are still one my favourite ways to personalise gifts each year. For those that save every single Christmas card they receive, this is the perfect craft for you and it gives your child plenty of scissor practice.
What you need:
- A variety of old or used Christmas cards
- A variety of coloured card
- Ruler
- Scissors or paper cutter
- Craft glue
Directions:
- Go through your old Christmas cards and pick out the ones with great artwork or festive scenes. Using a ruler draw a square around the images you would like to use. Get your child to cut out the images and set aside. It’s great for their fine motor skills and concentration if they manage to keep the edges as straight as possible.
- Using coloured card, cut out a square that is slightly larger than the Christmas card image you have just cut. Glue the Christmas card image to this card to give it a thin border.
- Now place this Christmas image with a border on white card. Use it as a guide to cut out a large piece of white card. It should be big enough to fold in half to form a regular card (or a folded gift tag). Your Christmas image and border will be glued on to the front of this card.
- Write your holiday message inside the card and attach to your gift.
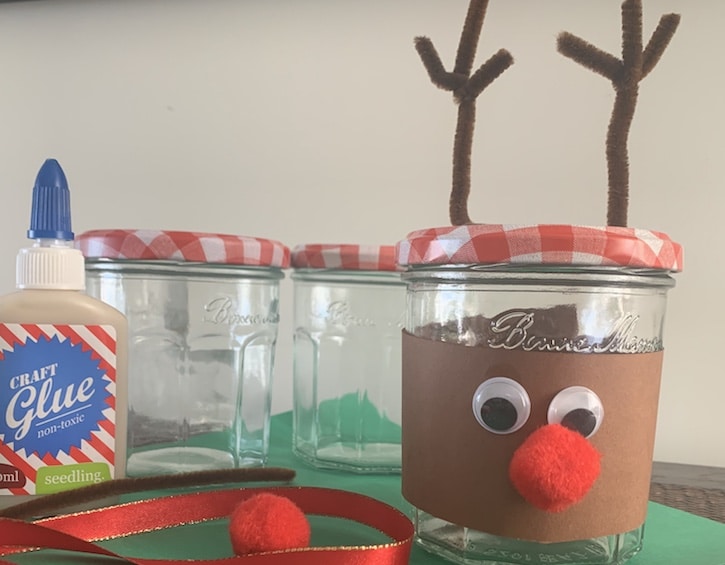
Reindeer Treats
These little reindeer jars are the perfect way to package homemade treats or chocolates for the holiday season and your kids can make them in a matter of minutes.
What you need:
- Glass jars – we used jam jars, but other types could work as well (make sure wash well and remove any labels)
- Brown pipe cleaners
- Brown construction paper
- Googly eyes
- Small red pom poms
- Glue gun or strong glue
Directions:
- Depending on the size of your jar, cut a strip of brown construction paper so that it is long enough to wrap around the jar and wide enough to create a reindeer face.
- Wrap this paper around the jar and attach with glue.
- Glue on googly eyes and a red pom pom nose.
- Cut a brown pipe cleaner to create antlers and attach with glue.
- Let all components dry completely before filling the jar with festive treats.
Sassy Mama Tip: Make sure you keep your favourite cookies in them on Christmas eve, so you get to show your kids that Rudolph, Dancer, Prancer and company thoroughly enjoyed them!
Read more: Get Set For Christmas: Here Are Your Santa Questions Answered!
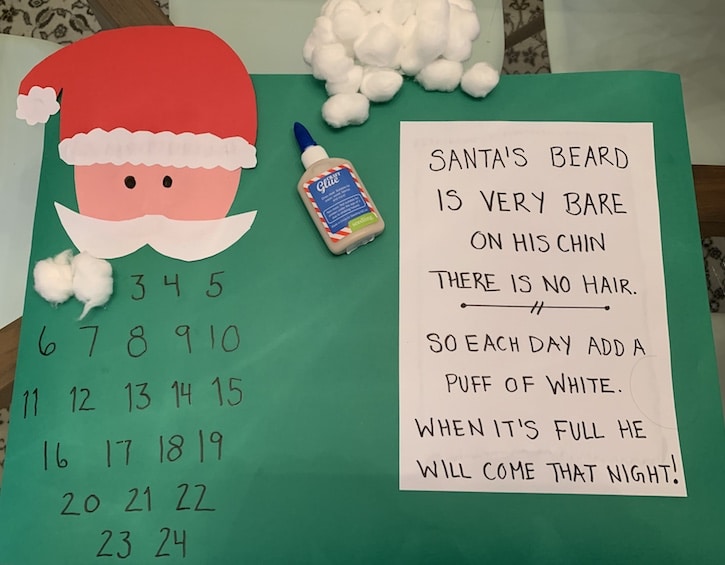
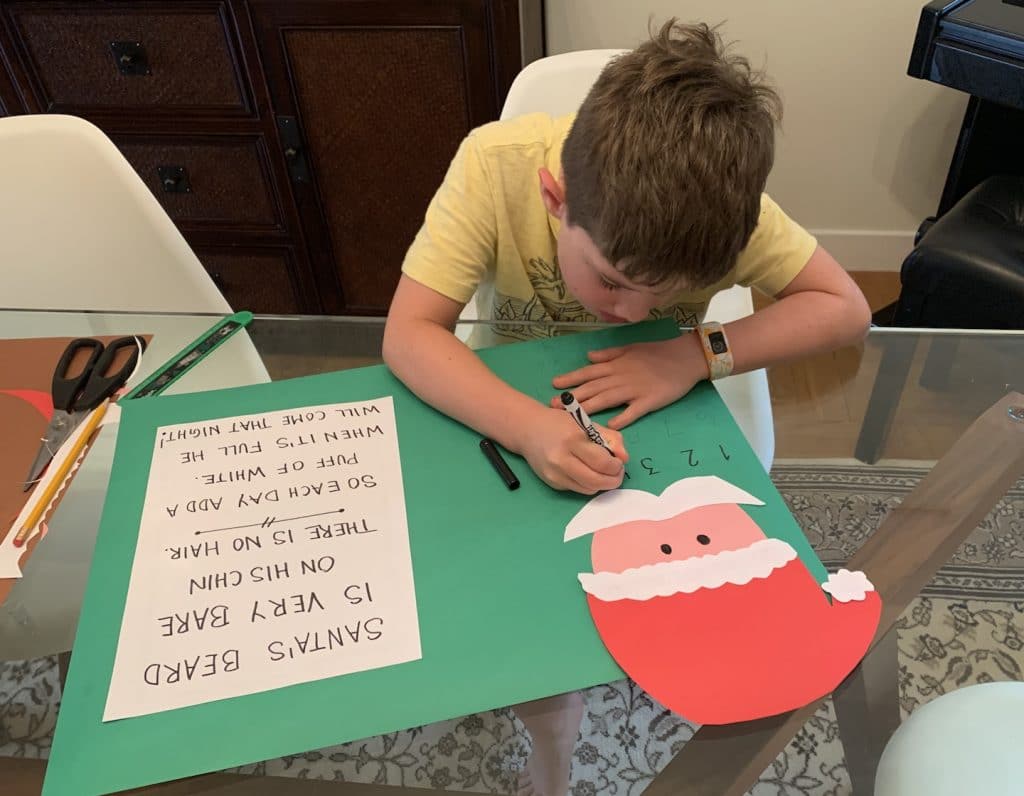
Homemade Advent Calendar
Although you can find chocolate Advent calendars everywhere, this simple Santa’s beard version is a great way to get your children excited for Christmas sans sugar.
What you need:
- A large piece of green construction paper
- Some white, pink and red construction or craft paper
- Scissors
- Black marker
- 25 cotton balls
- Craft glue
Directions:
- Start by making your Santa’s face, with a white moustache and red hat. Use the pink paper for the face, the red for Santa’s hat and the white to create a moustache and trim for Santa’s hat.
- Using the marker, add two eyes to the face.
- Glue all the pieces together onto the green construction paper, leaving enough room for Santa’s beard.
- Below Santa’s face, write the numbers from 1 to 24 so that they form a beard-like shape (think inverted triangle).
- Using white paper, write down the message and instructions, and glue these on next to Santa’s face.
- Hang the calendar somewhere your child can easily reach along with the cotton balls. Have your child glue a cotton ball to Santa’s beard each day in December and let the countdown begin.
Sassy Mama Tip: This is definitely geared towards younger kids, but my seven-year-old loved putting it together for his little sister.
Read more: Fun And Creative Elf On The Shelf Ideas This Christmas
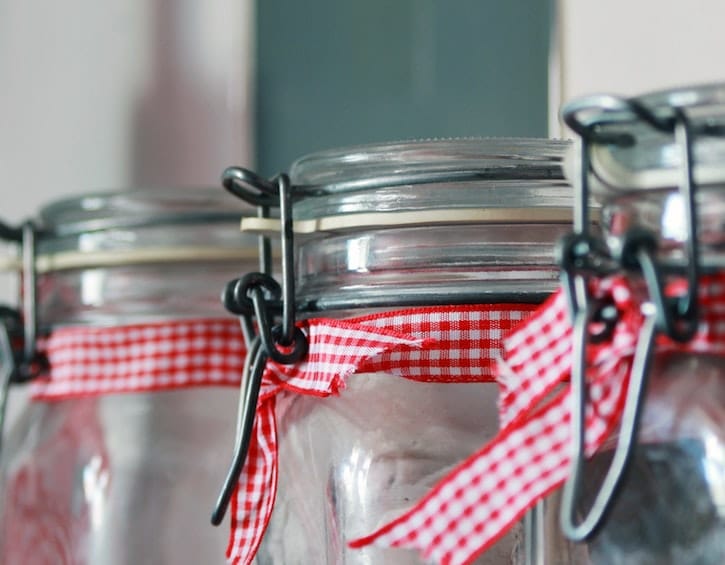
Homemade Mason Jar Mixes
Jar mixes are a great gift that can be made ahead and in batches, making it easy and affordable to give everyone on your list something sweet. Have your little ones help by measuring out the ingredients and decorating the jars once they’re done.
What you need:
- Large mason jars (16 or 32oz work best, depending on the recipe you’re working with) – these can be found at most kitchen supply stores, IKEA and some of the larger grocery stores like Taste and Great
- Decorative ribbon and a gift tag
- A great jar mix recipe. These are my favourites – a chocolate chip cookie mix, a festive peppermint brownie mix, a Gingerbread cookie mix and a holiday M&M cookie mix (you can find more inspiration on Pinterest)
Directions:
- Using one of the recipes above, layer the dry ingredients into jars. The gift recipient is responsible for adding the wet ingredients (eggs, milk, etc.). Get your child to use a spoon to layer. Scooping and pouring are important fine motor skills. If you want perfectly straight layers, teach your children how to use a funnel.
- Don’t forget to add the directions for your jar mix either to the gift tag or using a label.
- Once you have finished filling your jar, top it with a lid and decorate it with ribbon and a gift tag.
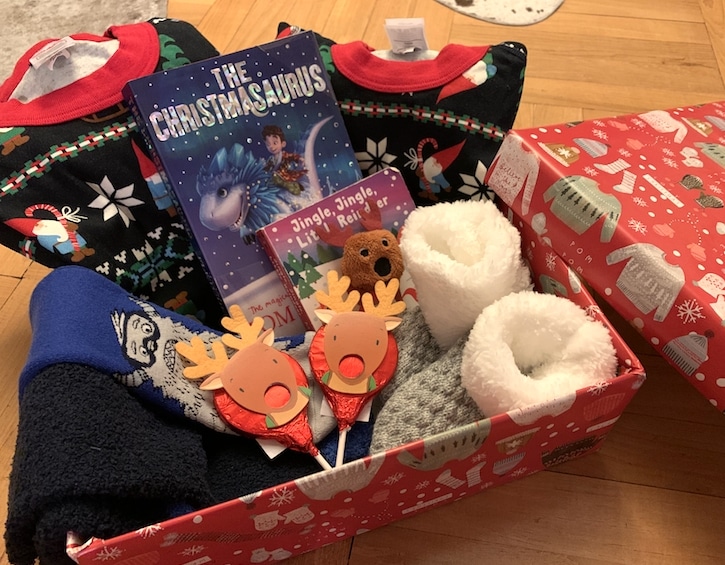
Christmas Eve Boxes
This isn’t an activity for the kids – it’s for you! After all the hard work your children have put in, they deserve this. When we were growing up, my parents always gave us one gift to open on Christmas Eve. Without fail, it was always pyjamas! I have kept this tradition going with my own family by creating a Christmas Eve box for my own kids. This is the only gift my kids get from Mum and Dad because Santa brings the rest of the gifts on Christmas morning. I try and fill each box with similar items and it always includes a pair of pyjamas.
What you need:
- A box – something larger than a shoebox would work best, but any size will do
- Wrapping paper
- Tape
- Items for your box
I have two kids (a 7-year-old and an 18-month-old), so their boxes look slightly different but below are some of the items I’ve included:
- Christmas pyjamas from Hanna Andersson (they deliver to Hong Kong!)
- A Christmas book
- Holiday stickers for my toddler and a book of holiday activities for my eldest
- Slippers or comfy socks
- A small treat
You can choose whatever is most suitable for your children. It doesn’t need to be very elaborate – creating your own box is easy and is a practical way to cut down on the inevitable overspending that often happens during the holiday season.
Read more: 2019 Christmas Gift Guides: For Children